Sunday, April 14, 2013

Mariners Game!

My friend Hannah and I went to our first M's game of the season today, against Texas Rangers! Her awesome grandma has been a season ticket holder since '83 and she gave today's tickets to Hannah so I tagged along! We were Row 9, the first row of season ticket holders right behind the Diamond Club seats (were people pay hundreds just to get a front row seat and unlimited free food) so basically we were in the front row.
We were literally about 100 feet from home plate. It. Was. AMAZING.
Dustin Ackley <3 He is my favorite :)
Justin Smoak! He is Hannah's favorite and my second favorite!


Overall, it was an amazing game. Smoak KILLED it with a double and some good hits, Seager also got a double which got another player to home plate, and despite Ackley's unlucky jersey #13, he still got some fabulous hits in! Final Score? 4-3 and a WIN FOR THE MARINERS! Can't wait until the next game!


Upcycle: Candle to Cute Storage!!

Do you ever buy candles that are built into glass jars, and once they are completely out of wick to light, you don't know what to do with them? Do not fret, I have a solution!
Here is a quick little DIY for you creative gals to do with items you probably already have in your house! The only supplies you will need is 1) Used glass candle container 2) Dish soap 3) Nail Polish and 4) Parring knife.

Start with your used candle container. Just a heads up, this Pineapple Mango candle I got as a gift from Bath and Body Works smells Ah-mazing! I would totally recommend getting it!
With a parring knife, slice the remaining candle bits into little squares or oblong shapes to make them easier to remove. Your candle might have a little sticky adhesive part right underneath the candle wick base, so just take a spoon and try and carve it out the best you can.
And voila! Empty candle!
(excuse the blurry photo) This is an important step! Remove any stickers attached to the candle holder and wash it super well with dish soap, water and a sponge so that you get all of the waxy filament off of the container, and any sticky residue from the bottom of the wick holder.
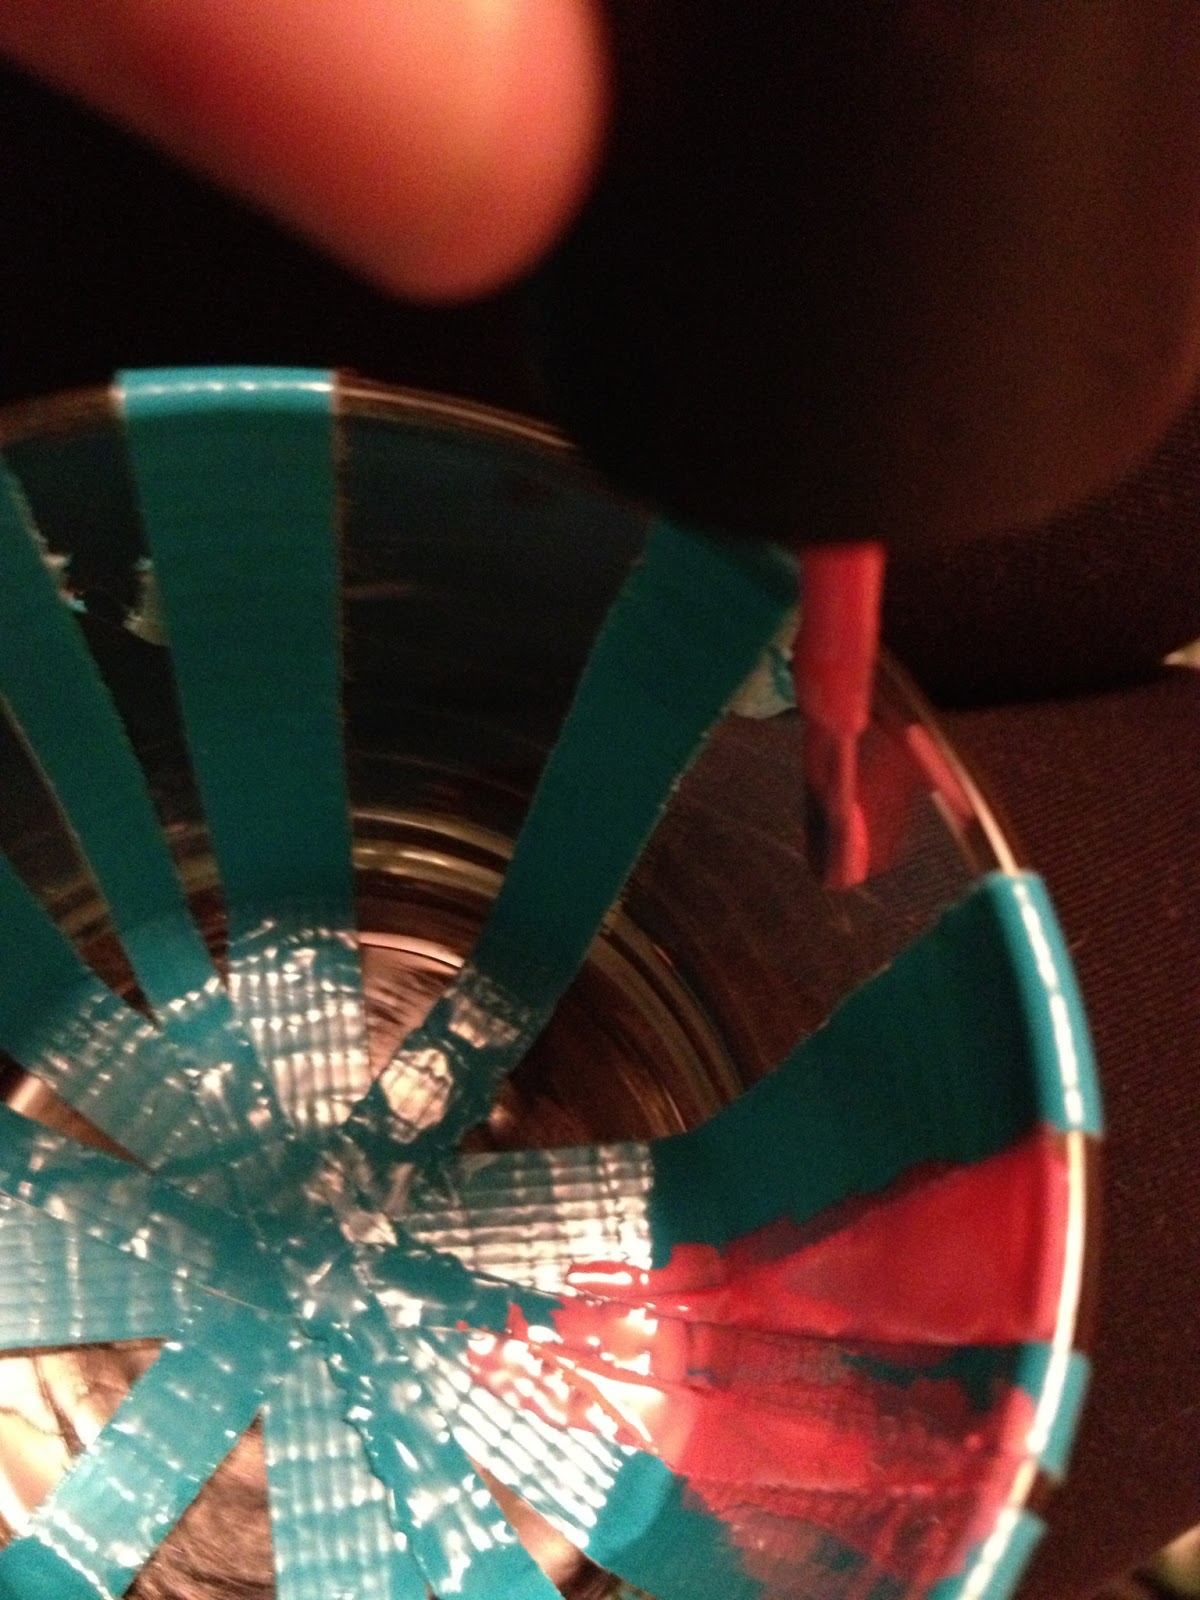
Take a strip of duct tape about 10 inches (depending on your cup size) long and rip it vertically to make small strips, width depending on how thick you want the stripes. Starting from one edge of the container, stick the duct tape strips across the cup until you reach the other edge. It should look like this.
Continue doing this until you have covered the container with the desired amount of strips. Make sure to use enough duct tape to have some lying over the outside edge of the glass because it will be very helpful in later steps. Do not worry about the spacing and tape to be exact and perfect, because I personally think it looks cuter when its a little uneven!
Here is the nail polish I decided to use for the stripes. It is Pink Elephants by Sephora and O.P.I! Its a very bright a girly pink that anyone would LOVE.

Take the nail polish and start painting the inside of the glass in the clear space between the duct tape. Its OK to go over the duct tape with nail polish, because you have little ends sticking out on the outside to use to remove the tape later. Paint the inside until the entire thing is covered, and if you want to, let it dry and add another coat.
Here is what it looks like from the outside, looks kinda like candy!
When it is dry, slowly remove the pieces of tape starting from the last one you put on, all the way to the first. Some of the nail polish might chip off in this process, but don't worry, it'll still look cute! Just for some sealant I painted over the whole inside of the glass with clear nail polish.
 After looking at the finished project, I realized it needed a little more 'spazazz' to it, so I went over the clear area with glitter nail polish, repeated the clear coat step and then Tada! Super cute and girly container!
Here is a picture of the complete project again. You can use this to store cotton balls, thumb tacks, hair ties, anything you can imagine! This can be done with all sizes of containers and all different shapes! Have fun and Happy DIY!


Monday, April 8, 2013

Let's Go Mariners!

My *cousin* Hannah and I dressed up for the Seattle Mariner's Opening Night game at school!

Sunday, April 7, 2013

How I Organize My Closet: Why I Love It

Do you ever look at your clothes, sitting in a laundry basket, and just wonder how the heck am I going to organize this?
I've been there too.


Convenience is absolutely key in every situation your in, and especially in your closet. I've had my closet organized like the photo you will see below for actually a couple of years! It is so functional and convenient to access so I wanted to share!
Here is a general overview of my closet. (some things need a bit of organizing, but this gets to the point) With this picture you can see all of my clothes that are hung up. The key to having a functional closet is to put clothes in certain spots by how often you will be wearing them. I typically put all of my regular hang-able shirts on the very beginning of my closet, so that I can go straight to the start when looking for a shirt to wear. I hang my sweaters, sweatshirts and coats in the middle right in the center of my view, because those are the clothes I wear most often. Last, I put my extra coats, team jerseys, sport uniforms, and scarves on the very right because I won't need to get to them as quickly.
I think that these shoe racks were one of the best investments I have made for my room. Its a bit messy but basically the one on the left is (top to bottom) 1. running shoes 2. swim equipment 3. Hats and Scarves 4. Gloves and wool socks 5. solid colored T-shirts 6. Heels.
Because I have quite a few solid colored t-shirts, I decided to stick them in this shoe rack to easily find them when I'm looking for clothes for layering. The shoe rack on the right mostly contains, *you guessed it* shoes! Not much describing to do here...

This organizing strategy (thank you mom) is almost pure genius. Since I am just a teenager, fancy shelves and dressers aren't totally necessary, and I can get away with something as simple as this. I bought 4 green plastic bins from Target for probably a few bucks each and filled them with (from close left to far right) Pants, Shirts, Workout Clothes, and Pajamas. Its really easy to find clothes in these, and they are a breeze to store! And they're cute! 

Lastly, because I kind of ran out of boxes, I used the last corner of my room to store my crafting supplies (I. have. alot.) and I also used this cute pink hamper I've had for years to store my track uniform, warm up, practice and race shoes for easy access in the morning!

I know that my closet set-up is somewhat person-specific, I hope that there are little aspects of it that spark up a bit in you that you can use! Happy Organizing! 

Under The Bed: Storage Miracle!

I recently re-did my room, took out my old skyscraper high twin bed and replaced it with a low full mattress bed frame. Because of this everything in my room was completely moved around, and for a while I have had troubles finding new ways to store things since I no longer had the vast amount of space under my bed that I used to.
For weeks and weeks I was in a rut on how I was suppose to store all this junk like clothes for different seasons, and stuffed animals I no longer wanted on my bed.

Then the other day it hit me! I remembered that when I was little, my Mom had these long and flat boxes we would fill with things and slide under out beds! So I went out on a hunt for some...
I found a couple of these simple ones at Target for a few bucks each. They are roughly 3 feet long, 1 foot wide and about 6 inches deep. They were exactly what I needed! So I started filling them up...
I would recommend folding all the clothing items as small as they possible can so you can store more per inch, and pack the stuffed animals and other things in neatly so that they will all fit neatly. Keep in mind that the amount of time these things will stay under your bed can vary, so you want to make sure everything is neat and tidy because you don't want to open up the box to get out your summer clothes, and find them all wrinkly and messy and need to be washed!
What I really love about these boxes is that they are long enough to fit lots of your junk into, but short enough that when you slide them under your bed they are nearly invisible! Also, because of the clear plastic you can see into the boxes and pinpoint were exactly something is you are looking for without having to dig through an entire deep bin or box. I would totally recommend getting these if you have space under your bed and need somewhere to store random stuff!